Published January 26, 2015 01:20PM
The Basics of Foam Rolling
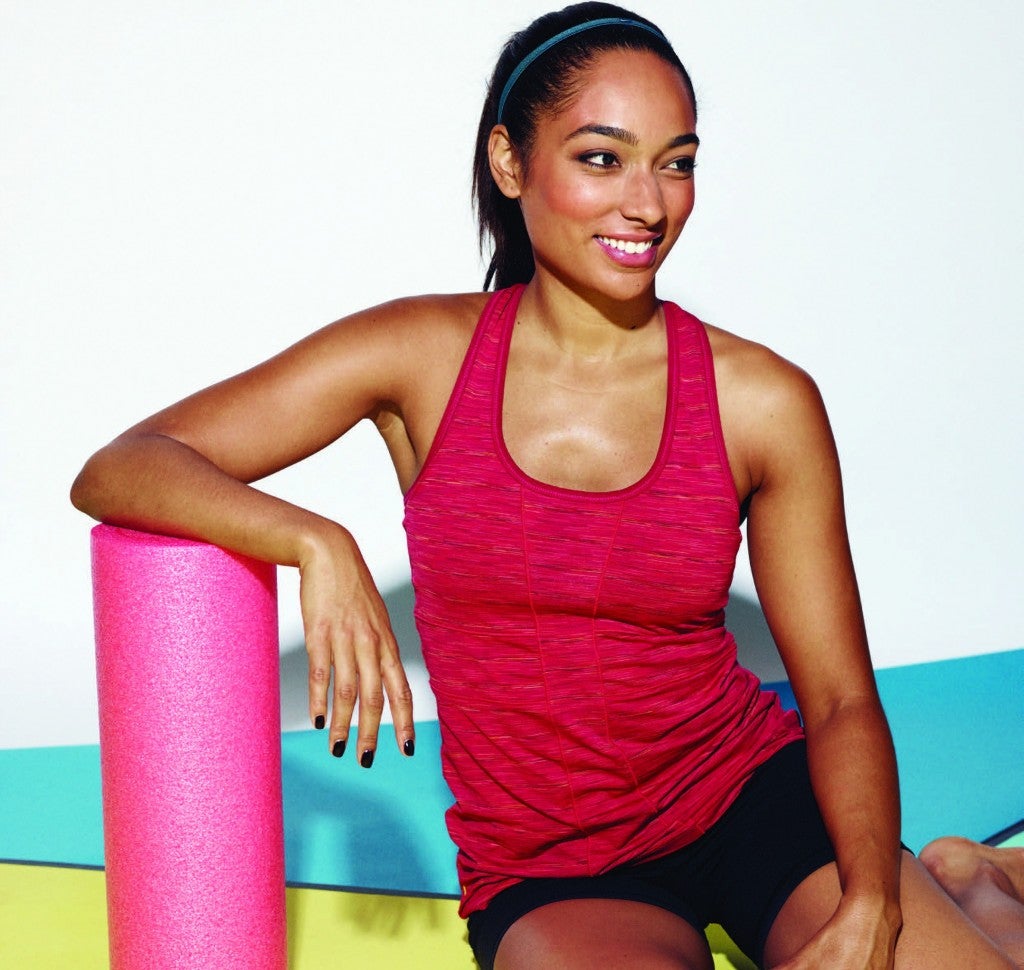
Add some post-run foam fun to your recovery regimen to keep muscles happy and firing on all cylinders.
You may have heard of foam rolling—you might even own one of the tube-shaped torture devices—but even then, the questions remain: How long should you roll for? What areas? Where do you start? What does a foam roller even do?
Self-myofascial release, otherwise known as self-massage, is a key component of a runner’s well-rounded recovery routine. It tackles tight muscles and works to increase mobility, flexibility and all-around effectiveness during training.
“If you want to run well, you need to do mobility exercises,” says physical therapist Bryan Hill, co-owner and CEO of Rehab United in San Diego. “Foam rolling is used by many practitioners for that purpose.”
While there are plenty of massage tools avail-able for post-run indulgence—even tennis balls can do the trick!—a good foam roller is tough enough to dig up the right amount of oomph and effective enough that runners are willing to cringe and roll simultaneously, over and over again. (Don’t worry—it’s never as painful the second time!) Hill recommends five key areas to target when working out kinks.
Related: Tips for Managing Shin Splints
Rules of the Roll
It doesn’t hurt to practice muscle mobility exercises daily, but Hill definitely recommends giving your muscles some extra love after major runs or workouts. Focus on each target area for at least 1 minute (and up to 10 minutes), moving slowly through the motions until you soak up the benefits of sweet release. If you’re a first-timer, pain is still beauty—the more you practice, the less you will cringe in pain as your body adapts to its new form of recovery.
Extra Credit
Need some added release? When you feel a tight spot, pause with your weight resting on that spot until you feel a release. To target pressure on your legs, try flexing your foot and rotating your ankle in circles.
Smooth vs. Bumpy
Foam rollers with extra bumps, such as the Rumble Roller ($45, roguefitness.com), offer more intense fascial manipulation—that is, mobilizing the tissue that protects and connects your muscles. The choice between a flatter roller and one with more nubs depends on your desired level of massage—more nubs means more deep-tissue love. If you’re new to rolling out, we recommend starting with a flat roller, such as the Pro-Tec Foam Roller ($25, pro-tecathletics.com), until your body adjusts to the added pressure of foam rolling after your run.
Related: Pamper Tired Muscles
Really Get In There
Hip flexors (the muscles between your pelvis and upper thigh) are infamously tight in runners and it can be tricky to dig in with a cylindrical massage tool. Hill recommends grabbing a Mobility-WOD Super Nova ($40, roguefitness.com) ball to reach the nooks and crannies of a tight flexor.
1. Back
(a) Rest your lower back on the roller with your feet flat on the ground, supporting your upper body with your arms. (b) Slowly move your arms outward, forcing the roller to move up your back, releasing tension along your spine. Return to start position and repeat.
Related: Best Abs Ever
2. Quads
(a) Rest both quads on the roller and sup-port your upper body with your hands on the floor. (b) Using your arms for leverage, move the roller up and down the quads.
Related: 5 Tips to Avoid Injuries
3. Calves
(a) Rest both calves on the roller and use your arms and hands to support you. (b) Move your hips forward and backward to move the roller up and down your calves.
Related: 4 Stretches to Relieve Common Injuries
4. Hammies
(a) Cross one leg over the other and place the roller under your lower hamstring. (b) Using your arms and hands to support you, move your hips backward and forward to run the roller along your entire hamstring. Continue this motion, then switch legs and repeat.
Related: 5 Dynamic Stretches to Start Your Run
5. IT Band
On your left side, rest your hip on the roller. Keeping your left forearm and right hand on the ground in front of you, cross your right leg over your left. Using your right foot on the ground for leverage, move the foam roller down your IT band (where the seam of your jeans would be on your outer thigh) to just above the knee. Roll back and forth along this line. Switch sides and repeat.
ADVERTISEMENT
Related: 6 Plyometric Exercises
6. Glutes
Those rear muscles are often a key aggravator of IT band pain—Hill suggests including the glutes as an extension to the IT roll. Rest your left ankle across your right quad and place your left butt cheek on the roller. Using your hands for leverage and leaning to the left as necessary, move the roller back and forth slowly. Switch sides and repeat.
Related: Take Care of Your Feet While Running