Published July 20, 2023 07:15AM
How to Use Athletic Taping to Prevent Injuries
Using certain athletic taping methods can keep your joints and muscles protected across the miles.
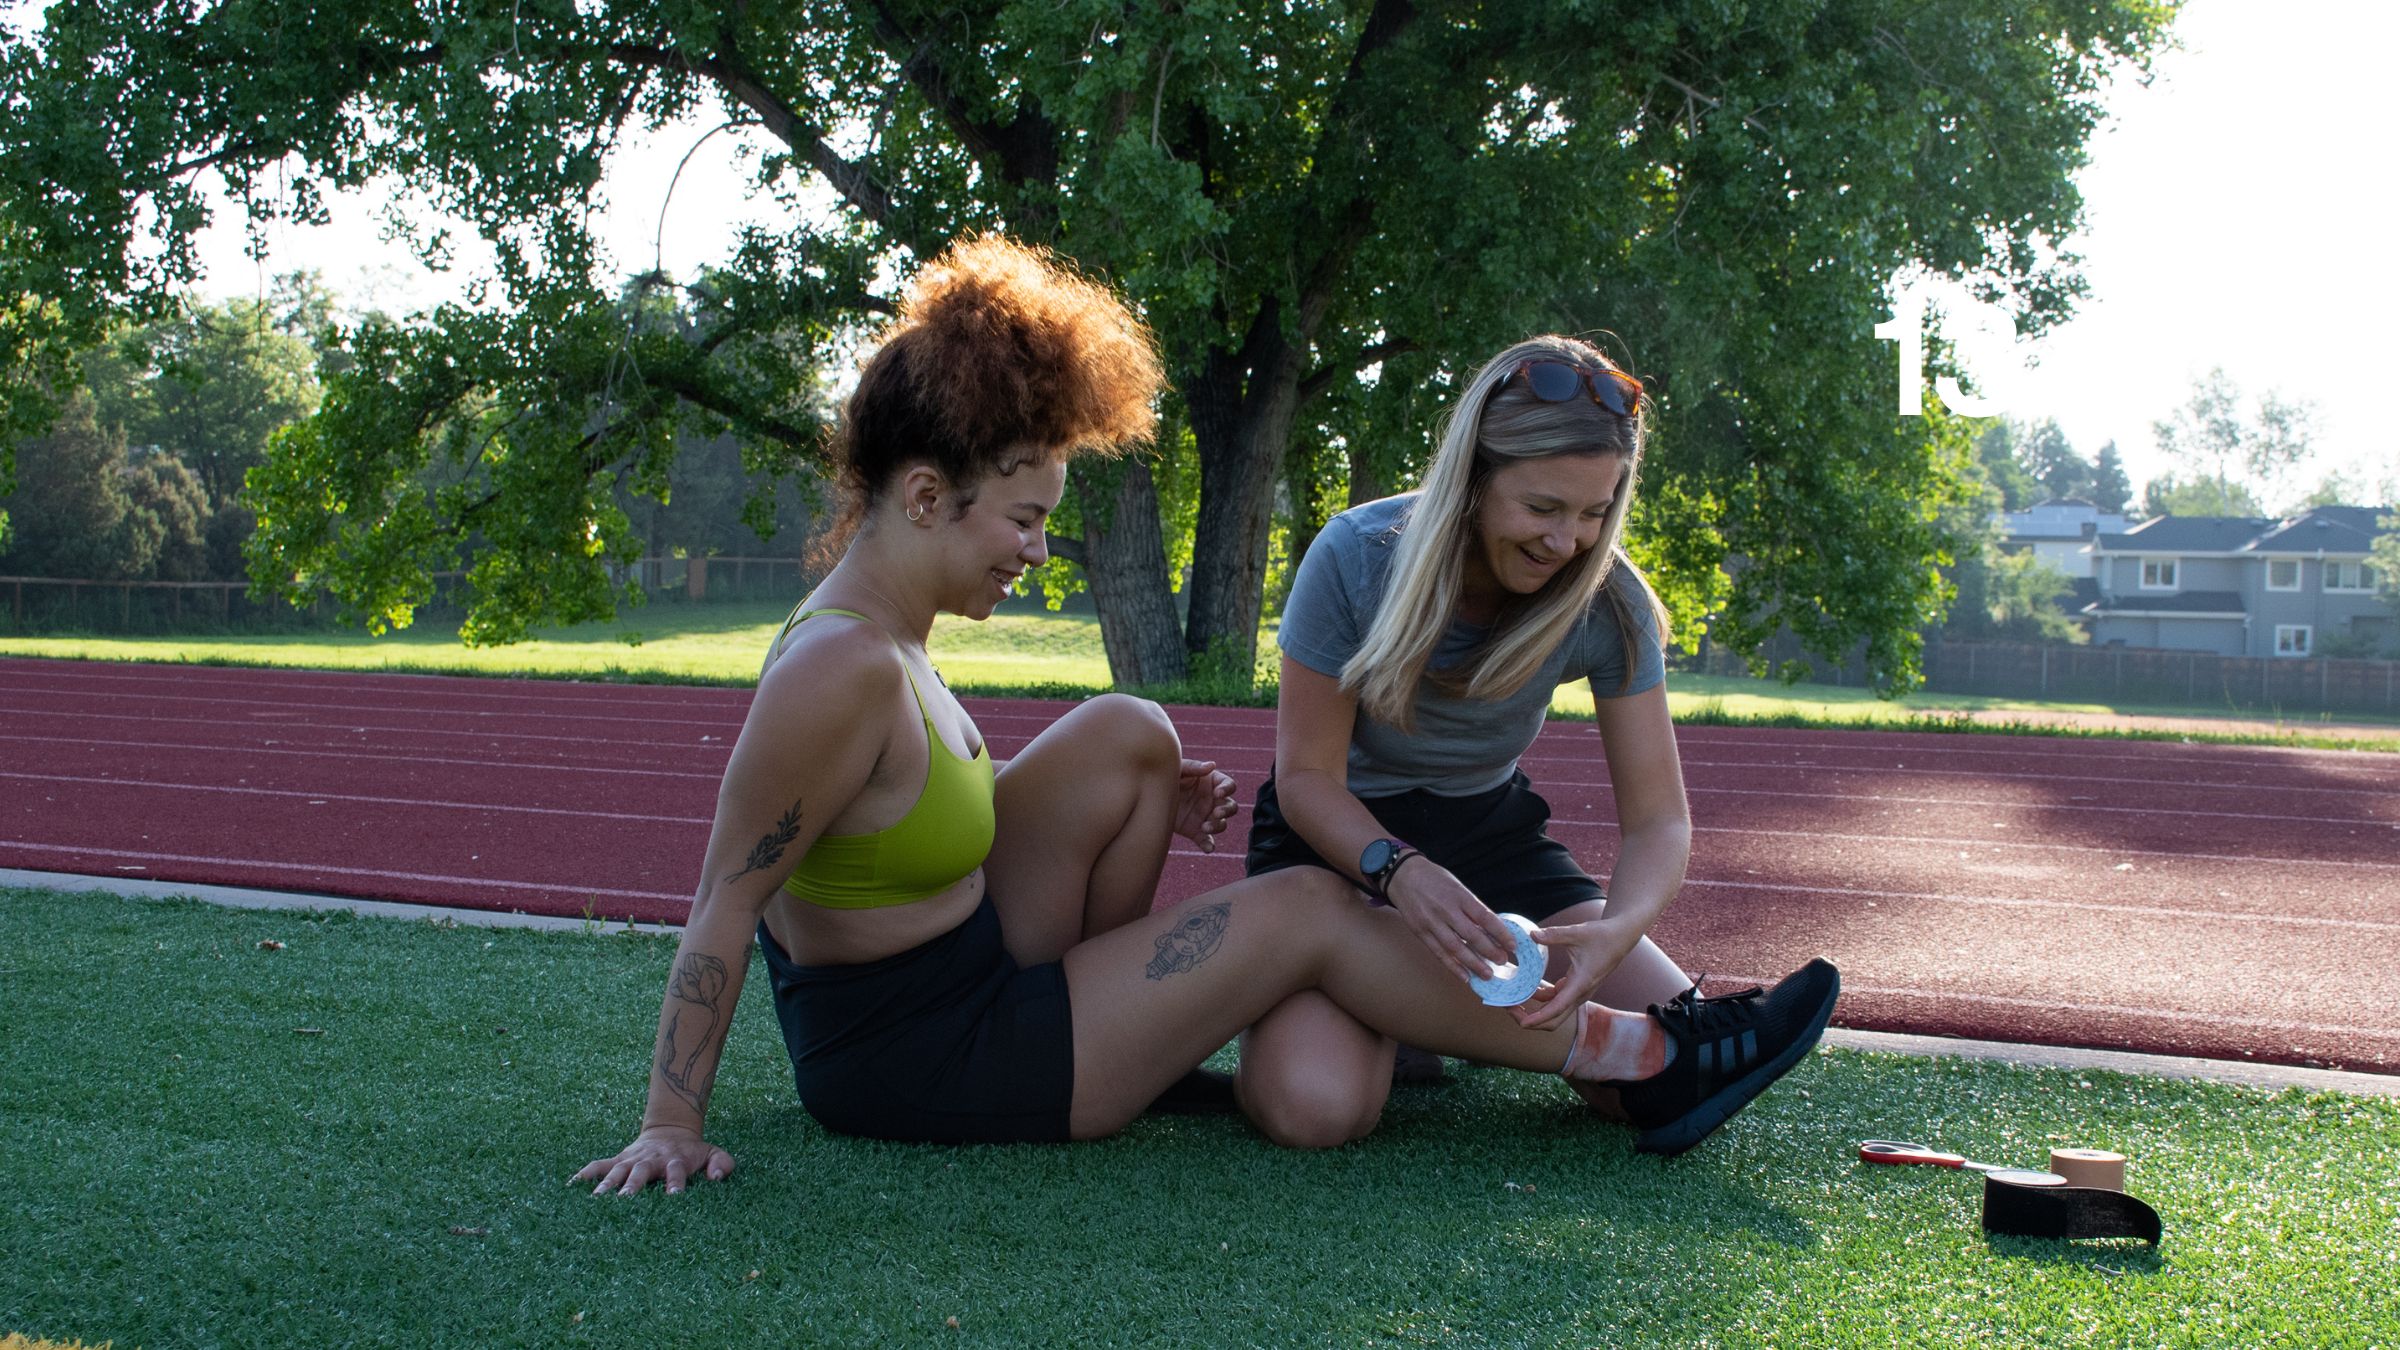
(Photo: Hannah deWitt)
You’ve probably seen it before: pro runners lining up on the start line with strips of athletic tape around their knees, ankles, or up and down their calves and thighs.
This tape serves an important purpose: to protect the part of the body on which the tape is applied. This type of tape is broadly known as “athletic tape,” and is stretchier and more durable than standard medical tape that might be used to attach gauze to the skin.
It is a common misconception that athletic tape is only helpful if an athlete is already injured and needs stability in the place of injury, but this is not athletic tape’s only application. Athletic tape can also be used to prevent the onset of injuries when correct taping methods are followed.
Dr. Sarah Zimmer, DPT is a physical therapist who practices in Boulder, Colorado with PR Sports Labs. She works with athletes of all levels and is a runner and cyclist herself.
“I am passionate about treating musculoskeletal and sports-related injuries to keep my athletes pain-free, and this sometimes includes using a variety of athletic tapes and taping techniques,” Dr. Zimmer says. “Using tape in addition to other aspects of physical therapy can help patients move past their injuries, learn to move better, and feel stronger than ever before.”
ADVERTISEMENT
Types of Athletic Tape
There are a couple types of athletic tapes a practitioner may use to help prevent injury: athletic tape or Leukotape, and kinesiology tape or rock tape. Both types vary by their elasticity, material, durability, and purpose.
Leukotape
“Using pure athletic tape, or Leukotape, is helpful for providing joint stability, protection, and even biofeedback to your nervous system,” Dr. Zimmer says. “You can use Leukotape to stabilize and protect a part of the body if you’ve recently injured it or need to provide stability.”
Leukotape is stiffer and has little-to-no stretch, which makes it ideal for adding stability or immobilization to a specific area of the body.
“Leukotape is great for providing support during the initial phases of rehab or to ensure extra protection,” Dr. Zimmer says. “But we know it is just an assistive aid as we work toward strengthening or healing that part of the body as part of a training or rehab regimen.”
ADVERTISEMENT
Kinesiology Tape
Kinesiology tape offers more stretch than Leukotape and can assist with improving range of motion in a particular area of the body.
“Kinesiology tape provides sensory and mechanical input into the muscle tissue, which sends a different signal to your brain than the more rigid Leukotape,” Dr. Zimmer says. “Kinesiology tape helps target the goals of reducing swelling and increasing muscle activation, among others.”
You may see runners using kinesiology tape on race day on areas of the body that are chronically tight to give them every chance to expand their range of motion in a painless, non-invasive way.
“There is some research that shows that using kinesiology tape on certain muscles in the ankles and knees helps increase performance and range of motion,” Dr. Zimmer says. “It is definitely a valid option to bring up to your practitioner if you are hoping to prevent overuse injuries while training and during performance.”
ADVERTISEMENT
Preventing Injuries
Using athletic tape should be viewed as a temporary option to assist in preventing injuries. Athletes should be partaking in regular strength training or physical therapy if they are experiencing a recurring injury or pain.
“Answering the question ‘Is athletic tape right for you?’ can be tough to answer outright as the athlete’s needs may change throughout their training or rehab process,” Dr. Zimmer says. “For those who have recurring pain or concerns more than twice a year or have jobs that are manual labor-intensive, it might be worth considering incorporating taping as part of an injury prevention program.”
There are many techniques a practitioner may use to incorporate athletic tape into an injury prevention program. Dr. Zimmer walks Women’s Running through three of the most common ones.
RELATED: The 10 Commandments of Injury Prevention
ADVERTISEMENT
Arch Support
Pronation is a natural and healthy part of any runner’s gait and is, put simply, when the foot rolls inward and the arch flattens as the foot moves through a step. For some, though, overpronation (where the foot rolls inward too much) can lead to painful challenges such as collapsed arches or arching feet.
Using athletic taping can be one way to create arch support for those who overpronate – in addition to working with a practitioner on long-term solutions such as strengthening the foot and ankle.
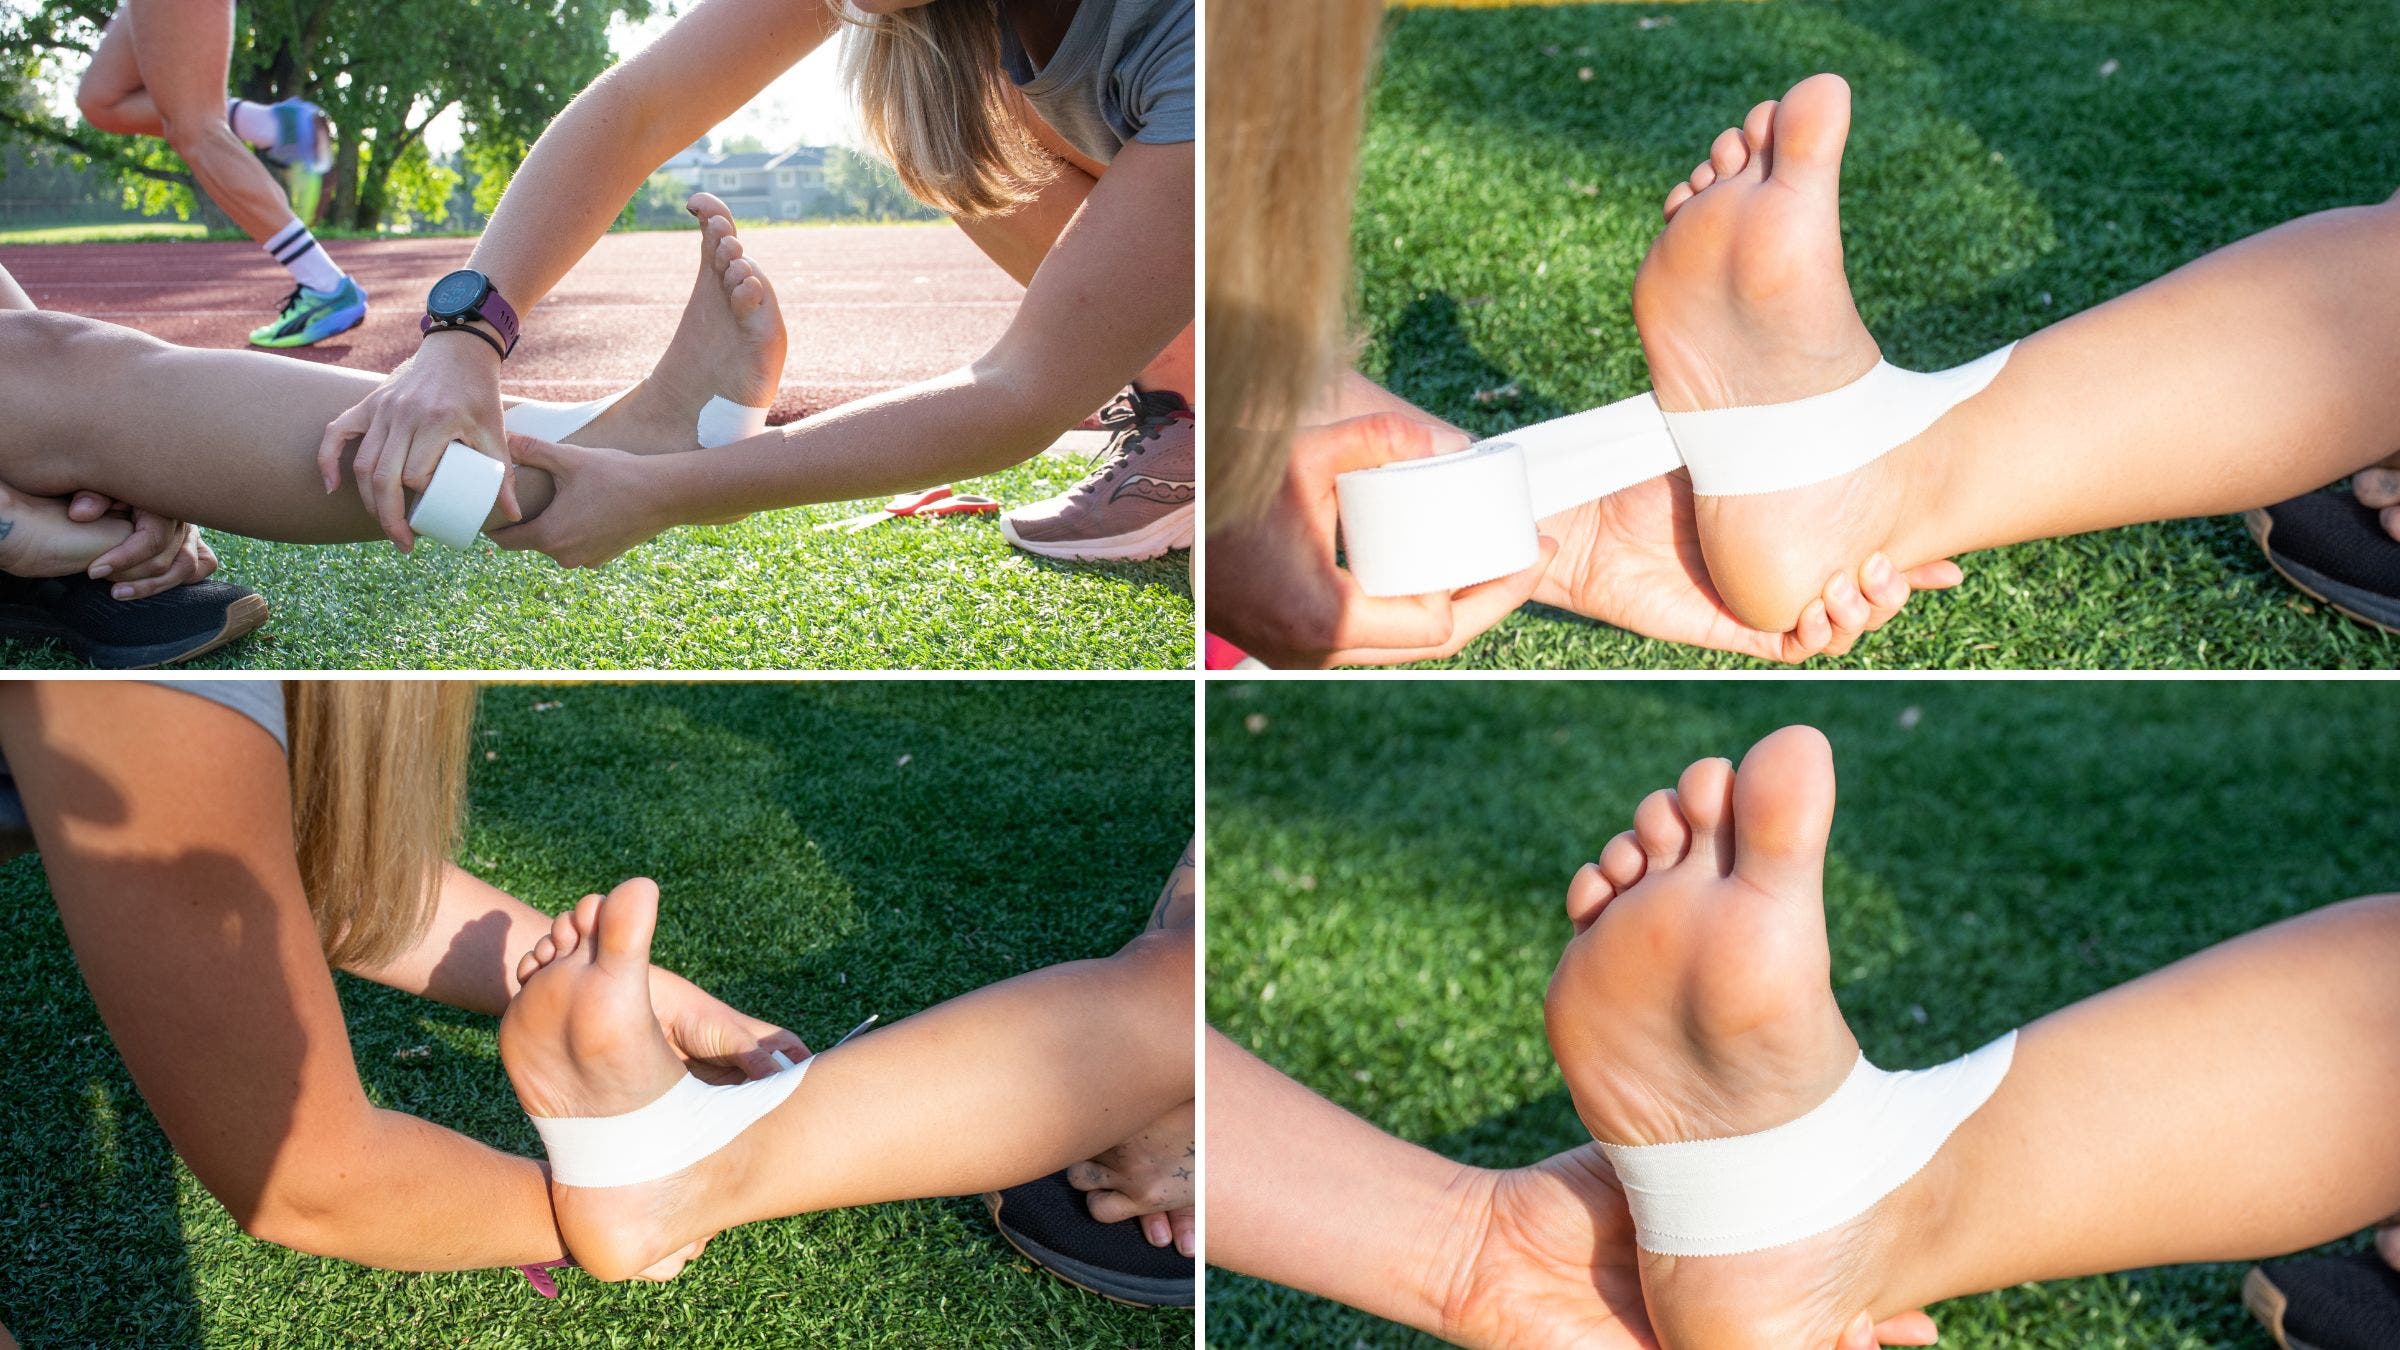
Dr. Zimmer shares her technique for taping a foot that commonly overpronates:
- Start with the foot pulled into dorsiflexion where the ankle and foot are at a 90-degree angle. Take a long strip of Leukotape and place one end on the outside of the foot about 1-2 inches away from the outer ankle bone.
- Pull the tape straight underneath the foot across the medial arch until you reach the inner ankle bone. Then, continue to pull the tape across the front of the ankle and up along the outside of your shin. You should pull the tape with 50% of its strength as if you are trying to lift your arch but not to pull it too tightly.
- Apply a second layer using the same length of tape and pulling in the same direction to add extra support.
- Once all the tape strips are applied, rub them gently with your hand to activate the adhesive and ensure proper adhesion to the skin. Make sure there has been no loss of range of motion, sensation, or blood flow around the foot and ankle.
ADVERTISEMENT
Plantar Fascia Support
Plantar fascia is the soft tissue in the bottom of your foot. It is not uncommon for it to become irritated and inflamed and eventually develop into a condition known as plantar fasciitis, which can include pain in the heel or arch of the foot.
Plantar fasciitis can be caused by a variety of factors such as shoe choice, biomechanics, and overtraining. Be sure to consult with your practitioner to address the underlying cause. If you are someone who chronically manages plantar fasciitis, athletic taping can help prevent its onset in addition to a regular care regimen.

Dr. Zimmer shares what is called the “low-Dye” taping technique to help manage the onset of plantar fasciitis.
- Start with the foot pulled into dorsiflexion (AKA: flexing your toes toward the sky) where the ankle and foot are at a 90-degree angle.
- Cut a piece of Leukotape that is long enough to lay along the outer edge of your foot (from inside to outside). Place the anchor of this tape in the middle of the outer edge of your foot, and pull it around the back of the heel to the base of your big toe. This will be your outline for the remainder of the tape.
- Then, cut 3-4 strips of athletic tape that measure the same width as the bottom of your foot. Anchor the first piece to the outside of your foot just above the heel, and pull it across your foot towards the inside and stick it to the anchor strip. Continue this same pattern with each piece of tape, anchoring it to the outside of your foot and pulling across the arch to the inside of the foot. Place the last piece of tape just below the ball of your foot.
- Make sure you pull the tape with enough tension but not excessively tight as this will feel uncomfortable. You should feel that your arch is supported and some of the pain in your heel is diminished.
RELATED: The Right Way To Treat And Beat Plantar Fasciitis
ADVERTISEMENT
Patella Support
The human body is amazing, but also imperfect. Over time, as an athlete’s muscles and joints evolve, they may develop knee pain from what is known as poor patellar tracking.
“Patella” is the medical term for your kneecap. In simple terms, it sits in a groove within your knee and moves back and forth within that groove to bend your knee. A number of factors such as overuse, previous injuries or surgeries, or changes in muscle activation can cause that patella to sometimes track incorrectly in that groove, causing pain.
Runners who want to avoid this occurrence while doing specific types of running such as technical trail running, downhill running, or high-mileage weeks may want to consider Dr. Zimmer’s below taping suggestions to prevent patellar mis-tracking in the knee.

ADVERTISEMENT
The below taping method is known as McConnell taping.
- Start by cleaning the skin around the knee with soap and water or with rubbing alcohol, making sure to remove any dirt or debris.
- Use cover roll tape first when using Leukotape to protect the skin from the strong adhesives. Measure two pieces of cover roll tape that are slightly longer than the width of your kneecap (one for above the kneecap and one for below the kneecap).
- Apply the cover roll tape without stretching it as you place it. One strip is placed directly above your knee cap while one lays directly below your kneecap, laying them parallel to each other from the outside to the inside of your leg.
- Take the Leukotape and measure two pieces that are the same lengths as your cover roll tape strips. Start with one strip of Leukotape and anchor it to the outside of your thigh above your kneecap (on top of the cover roll tape). Hold the anchor of the Leukotape down as you pull the tap from outside to inside, ending on the muscle of your inner knee. You want to pull the tape with about 25% of its strength. Then, take the second piece of Leukotape and place its anchor on the outside of your leg just below your knee cap (top of your shin). Pull this piece of tape with more force as you pull the patellar tendon (just below your knee cap) from outside to inside, ending your tape just on the inside of your leg below your kneecap. Make sure the tape is applied with tension, but not excessively tight.
- Once all the tape strips are applied, rub them gently with your hand to activate the adhesive and ensure proper adhesion to the skin. Make sure there has been no loss of range of motion, sensation, or blood flow around the knee.
Remember: athletic taping to prevent injuries should be used in conjunction with a regular strength or rehab program to keep your body functioning in a pain-free way. Athletic taping can help prevent injuries, but learning how to move your body correctly and according to your unique biomechanics under the guidance of a strength coach, physical therapist, or other qualified practitioner is the best way to stay injury-free.
RELATED: Do These Glute Exercises Every Day for Injury Prevention