Published May 18, 2016 08:19PM
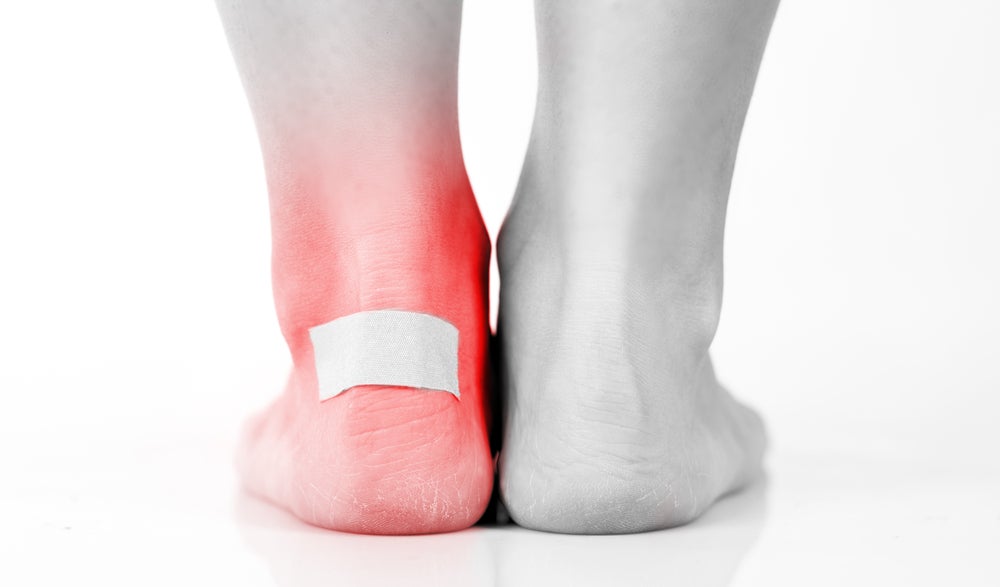
Pop It Or Pad It? The 9-Step Blister Fix
Follow this guide so you can get back to running with happier feet.

Adapted with permission of VeloPress from Training Essentials for Ultrarunning by Jason Koop, coach to elite ultramarathoners. In his book, Koop reveals his highly effective ultramarathon training methods for ultrarunners of all abilities.
Training is the first level of prevention in blister formation. Your skin adapts to stress just like any other organ in your body. Many studies, primarily involving the military, have demonstrated that gradual exposure to frictional forces on the foot (through hikes and marches) decreases the skin’s susceptibility to blisters (Allan 1964; Hodges, DuClos, and Schnitzer 1975; Knapik et al. 1995). As you train, your epidermal skin cells become thicker and in theory more cohesive, making them more resistant to blistering. How does this happen? As you run, you slough off skin cells faster than normal. These are rapidly replaced by new skin cells, but these young cells don’t get the chance to differentiate into layer-specific cells (epidermis, dermis) before they are stressed by another run (S. H. Kim et al. 2010). When this happens frequently over a relatively short time, it results in overthickened skin (i.e., the callus).
ADVERTISEMENT
Still, you’ve got a great chance of getting blisters during an ultramarathon. Whenever you stress an organ or a structure in your body beyond its capabilities, you cause damage. Ultramarathons normally represent a longer, more difficult run than your day-to-day training, complicated by the fact most ultramarathon events occur in areas away from your home training grounds. The trail surface, camber, dirt, dust, and debris your feet encounter are undoubtedly different during the race than at home. Furthermore, your biomechanics are different depending on the properties of the trails, placing stresses on different areas of the skin of the foot. Therefore, the shoe/sock/powder/tape/lubricant/insole combination that worked in training may not always work during the race. Just as training on flat ground will not completely prepare you for a mountainous ultra, training on your home trails might not fully prepare your feet for the rigors of race day. Therefore, a combination of education, preventive measures, and wound care skills offers the most comprehensive way to ensure that your hard-earned training does not come undone by the unraveling of your feet on race day.
Related: Say No To Sweaty Feet And Blisters With These Tips
If you do get a blister (or the precursor, which is referred to as a “hot spot”), you have a decision to make: You can save some time and continue running, or stop and lose some time treating your feet. In making this decision, you need to balance your race-day goals, performance expectations, safety, and race situation. Generally speaking, the more time you have left to run and the bigger the problem could become, the more it is worth your while to take a few minutes and fix what is wrong. Don’t let little problems become big problems. My advice is to always err on the side of caution and fix problems early, particularly at the 100K and 100-mile distances, where there is a lot of ground to cover. Blisters come in a variety of shapes, sizes, and levels of discomfort. Treatments also come in many shapes and forms. Unless you are a medical professional with many years of blister management experience, a simple solution is always best.
ADVERTISEMENT
Related: What Causes Pesky Blisters And How To Handle Them
I have found success with the following nine-step plan:
- Clean the surface of the blister and the surrounding skin. If an alcohol pad or disinfectant is available, use it. If not, it is still usually best to proceed to step 2. You are less prone to infection if you can properly manage the blister while it is small and treatable. Large broken blisters will become more prone to infection more readily than small broken blisters because there is more opportunity to become infected through the larger area of damaged and exposed skin.
- Puncture the blister with a needle, sharp scissors, or scalpel. Take care to puncture the blister enough to allow fluid to drain but not so much that the blister roof becomes detached. If you are using a needle (safety pins from a race number also work well), put three to four holes in the blister so that it will drain. Ideally, place the punctures such that fluid can continue to drain while you keep on running.
- Squeeze the fluid out of the blister.
- Clean and dry the surface of the blister and the surrounding skin. You are now prepping the skin to apply a patch, so ensure that it is dry and free of debris. You can choose to add a very small dab of lubricant to the blister roof. This is to prevent the patch from sticking to the blister roof when you eventually peel the tape off.
- Size up the area you are going to patch, and cut a piece of tape or bandage to cover the blister. The patch should be large enough so that it can stick to the surrounding skin. If the blister is on a toe, this might mean wrapping the entire toe. If you do have to wrap a toe, it’s usually best to wrap the adjacent toes also so that the tape does not rub directly on adjacent skin.
- Apply a tape adhesive such as tincture of benzoin to the area surrounding the blister. Although the tape has its own adhesive backing, using an additional tape adhesive will ensure a better stick.
- Place the tape down on the skin from one edge of the tape to the other. Be careful to avoid folds and creases. If you do get a fold or a crease, start over.
- Lightly press down on the patch to ensure the adhesive completely sticks to the skin.
- Put your socks on, lace up your shoes, and run!
If you are particularly blister prone, practice various techniques at home. Cutting and placing the patch on the surface of the skin can be the most frustrating part of the process during a race. The tape is sticky and adheres to itself and to your fingers. You’re in a hurry. You’re sweaty and dirty. And you’re working in a dirty, dusty environment. Finding a routine and learning some simple skills goes a long way to making the process smoother and faster in race conditions. As with any other skill, practice makes perfect!
Jason Koop is the Director of Coaching for CTS, coach to elite ultrarunners, and an elite ultramarathoner. Koop’s book Training Essentials for Ultrarunning reveals his highly effective ultramarathon training methods for ultrarunners of all abilities. Learn more at velopress.com/koop.